 |
 |
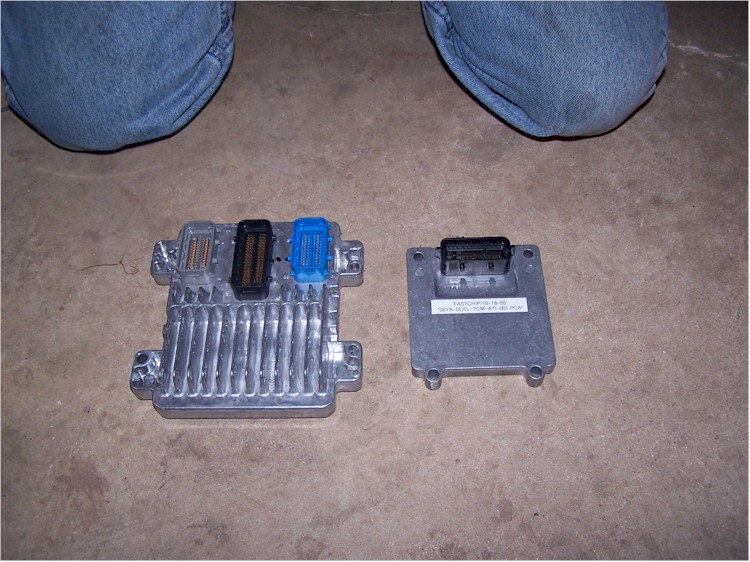 |
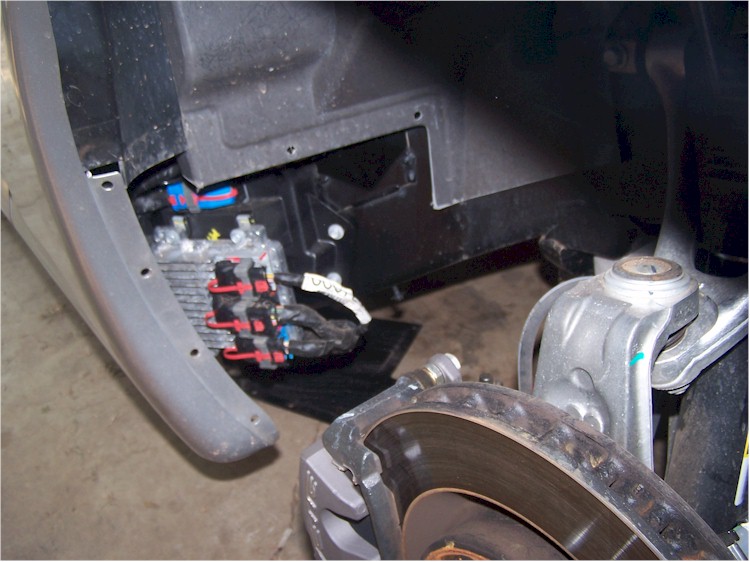
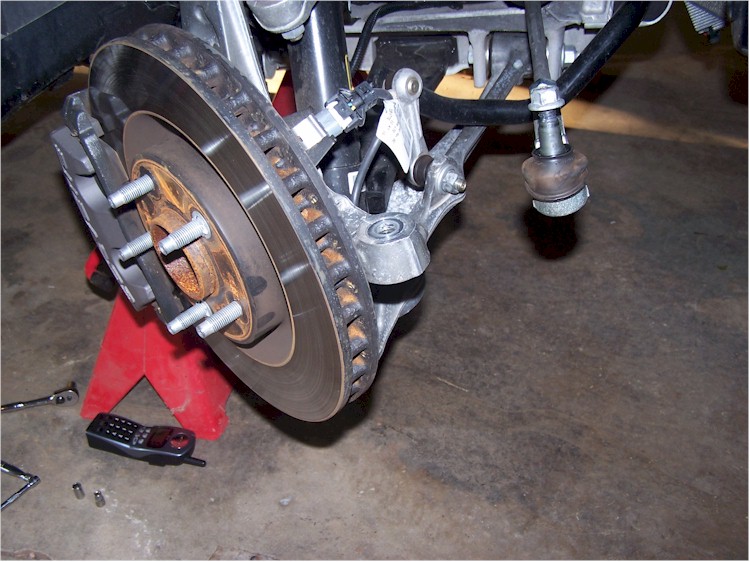
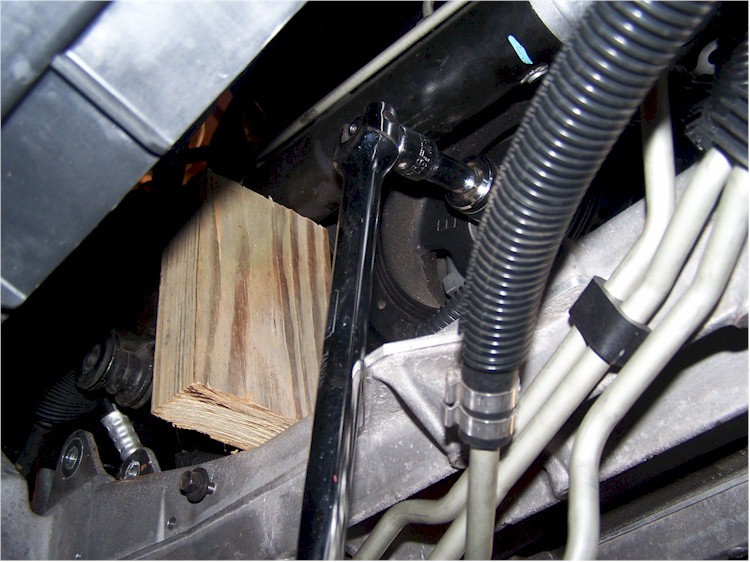
| 2. Remove both front tires. 3. Remove the computer (2 computers if it is a automatic like this one) from behind the passenger side tire. Box the computer(s) up and send it to Ed Wright Automotive for programming (if you purchased the complete system) 4. Remove the tie rod ends. 5. Remove the front bumper. (Instructions in the Procharger manual are pretty good) 6. Unbolt the radiator cradle from the frame of the car and move the radiator/cradle assembly forward enough to allow room for a drill to fit between the electric fan and the crankshaft bolt. 7. Take out the power steering rack bolts and the traction control bolts. Then pry the passenger side of the rack up and toward the driver side of the car until the rack is raised high enough that you can get a socket on the crankshaft bolt (it helps to prop it up with a block of wood) |
 |
 |
 |
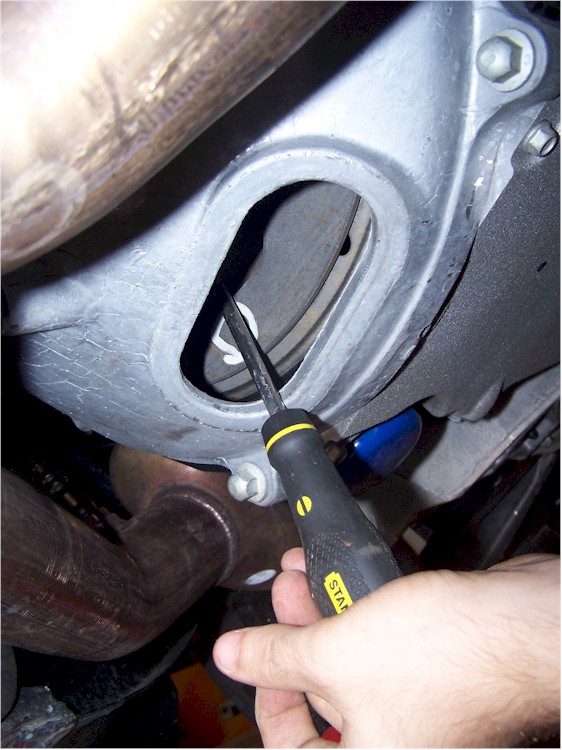
| Pinning the Harmonic balancer
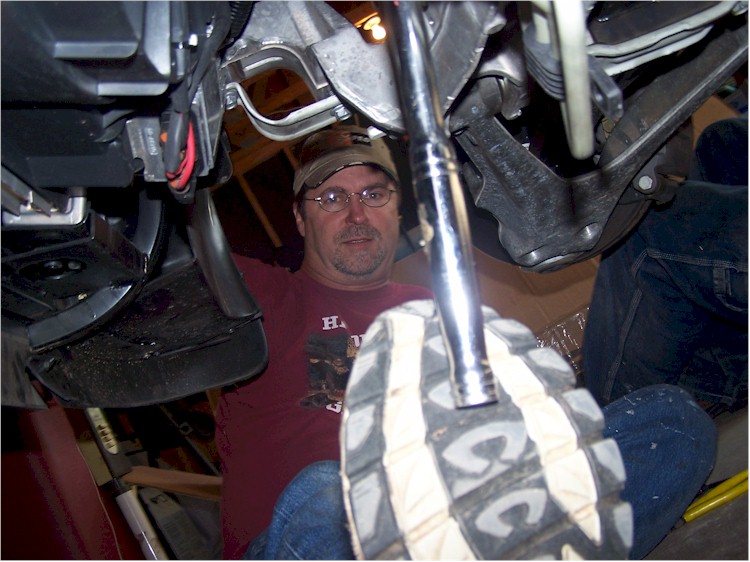
to the Crankshaft 8. Remove the original crankshaft bolt. This bolt is extremely tight and a 1/2" air impact wrench will not budge it (we understand that a 3/4" impact will loosen it, but we don't have a 3/4" to try) We always break the crankshaft bolt loose by jamming the flywheel at the back of the engine with a screwdriver and then using a breaker bar with a foot on it. Do not remove the harmonic balancer! |
 |
 |
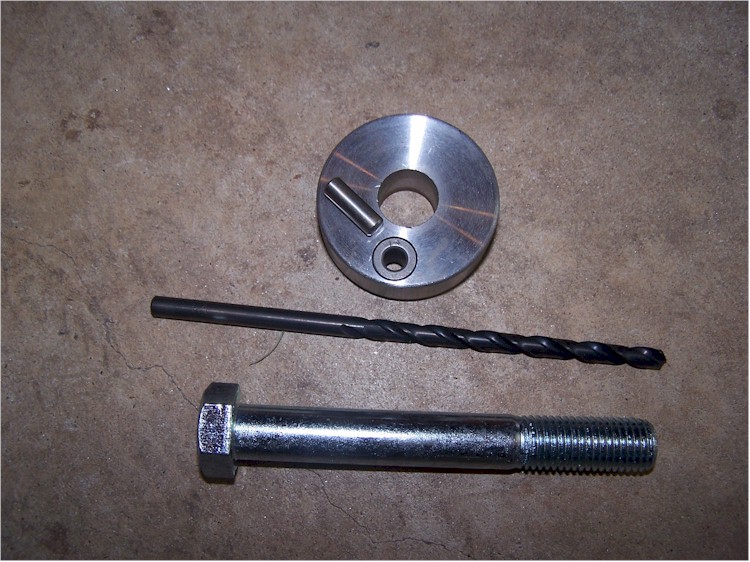 |
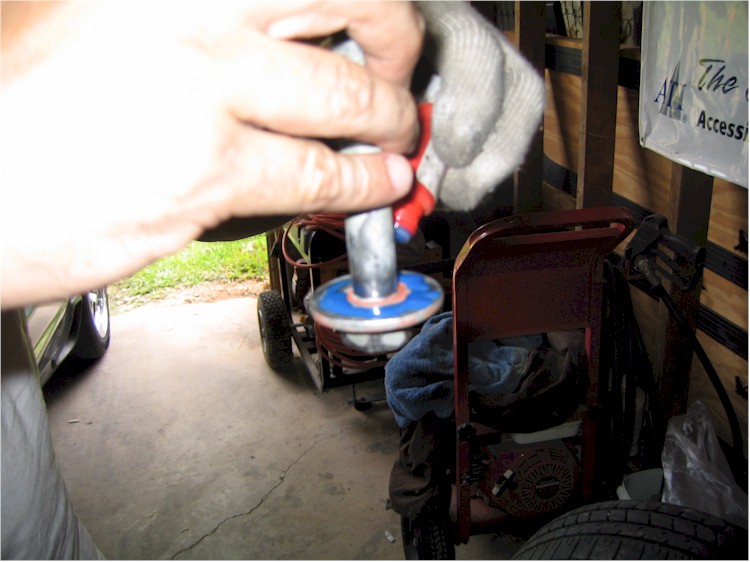
| 9. Install the provided drill guide with the longer crankshaft
bolt as shown below in figure 1A. Mark the provided 1/4" drill bit
with some tape to give you an idea of when to stop drilling (see
Figure 1B). Procharger says the hole should not be over 0.80" deep
(the pin is 0.75" long) The drill bit that Procharger provided us
was very long, so we decided to use our own bit. 10. Drill the hole in the crankshaft, keeping in mind that it is better to drill the hole too shallow than too deep. When we think that we are getting close to the right depth, we remove the drill bit from the guide and check the depth of the hole with a small nail. It is just as important to remember that if the hole is too shallow when you stick the pin in the hole, you may not be able to pull it back out. After the pin is in place put Lock Tite on the original crankshaft bolt and reinstall it to the specified torque in the Procharger Manual |
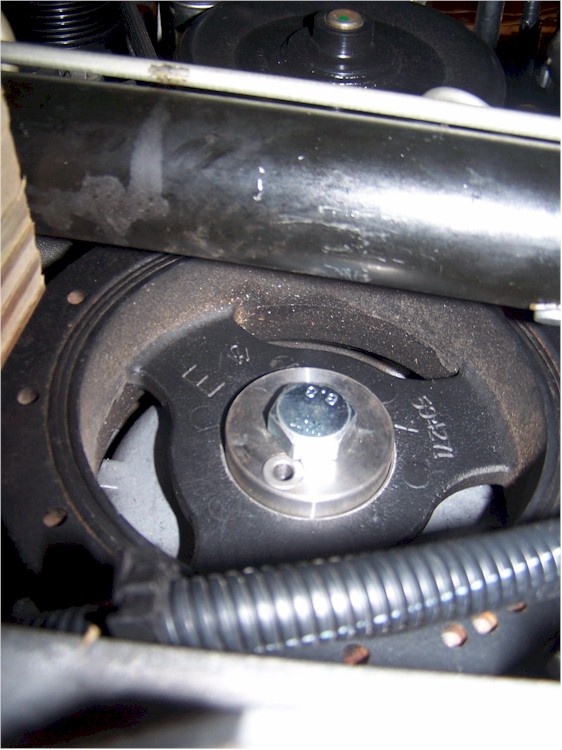 Fig. 1A |
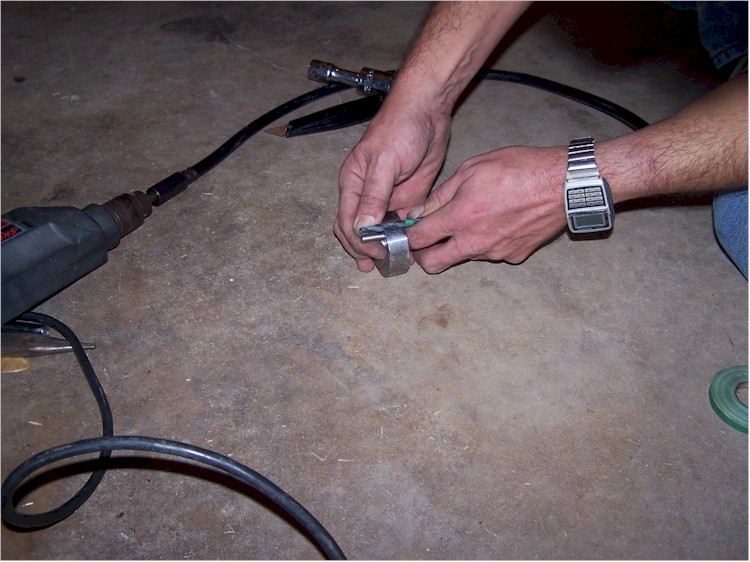 Fig. 1B |
 |
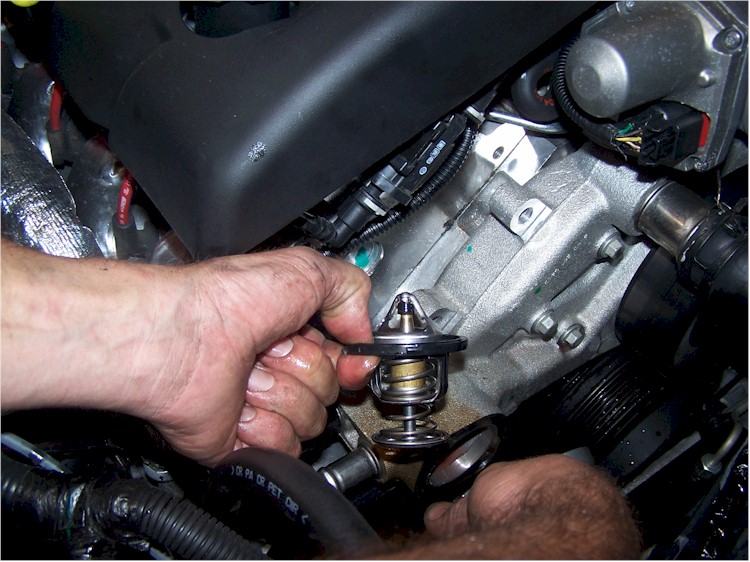
| Making room for the Blower 11. Remove the factory belt. 12. Remove the factory belt tensioner. 13. Modify the heater hoses as instructed in the Procharger Manual. Tip: If you want to install a cooler thermostat, you had better do it now. The thermostat housing is going to be covered up with a blower very soon now! |
 |
 |
|
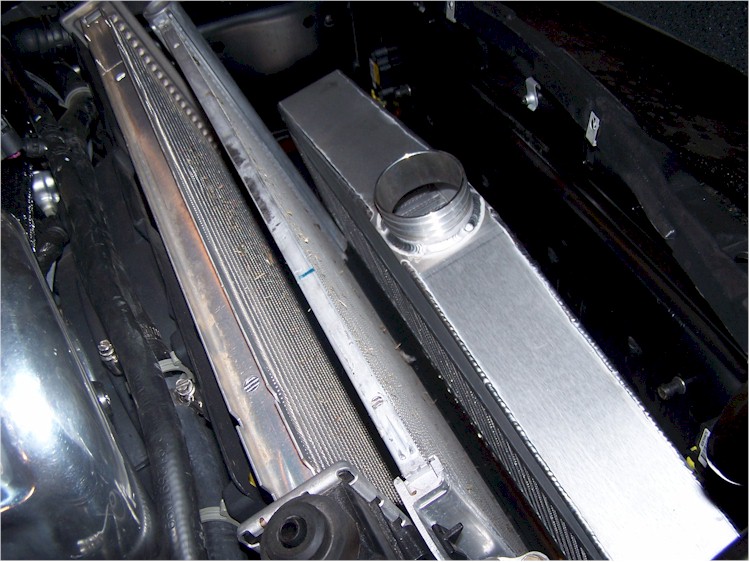
| Lowering the radiator
(This step is now accomplished
with a new cradle. more details to come 8-22-10) 14. Now that the harmonic balancer has been pinned, we may as well reattach the the radiator to the car. The Procharger system requires that the radiator set lower in the car, to accomplish this Procharger supplies spacers and longer bolts to put between the radiator cradle and the frame (see figure 2A and 2B) The bigger spacers go to the back of the cradle. Remember to install the intercooler brackets on top of the spacers. |
|
fig. 2A |
fig. 2B |
 |
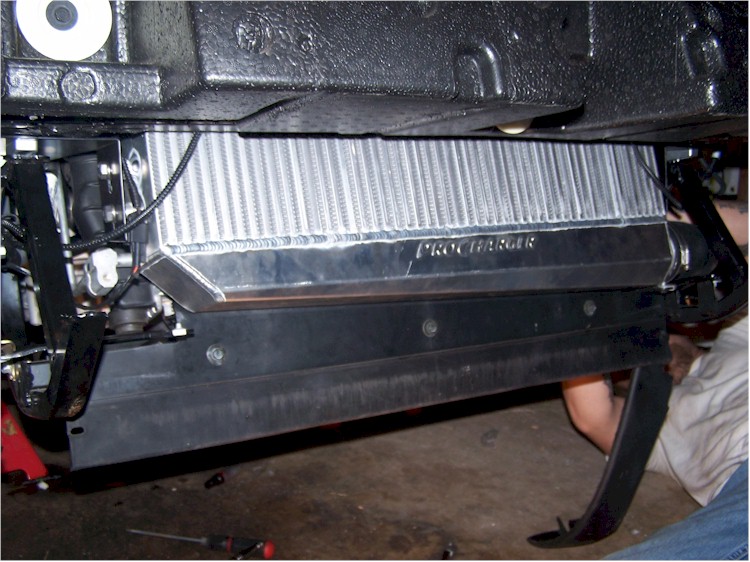
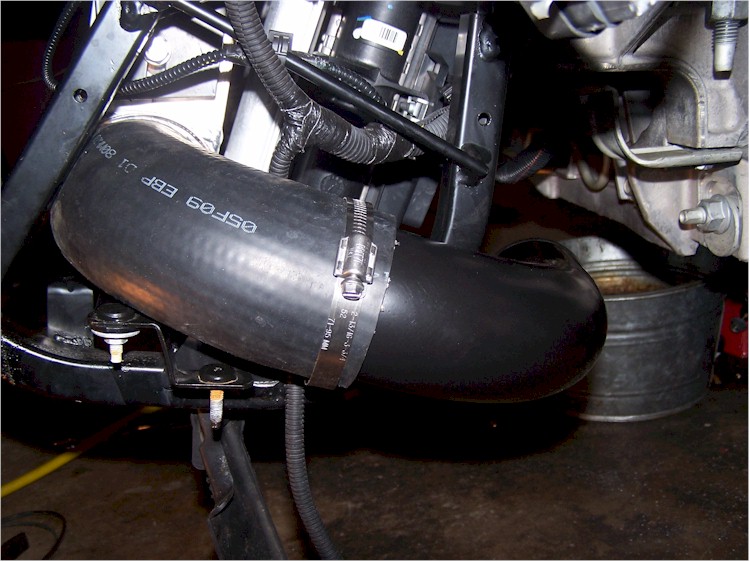
| Mounting the Intercooler 15. Slide the intercooler in from the top side and attach the provided bolts on each side. We had to bend the brackets slightly to get enough clearance to get the hose on the driver side of the intercooler. |
 |
 |